Case Research with Collections
The nature of risk can cause it to change over time. For example, a person's criminal history alone is not a reliable indicator for future behavior. Other factors may increase or decrease that person's probability of performing illegal acts a second time, such as whether the person has found gainful employment or consistent housing. Therefore, additional data sources are necessary to reveal the fuller picture and judge the situation more accurately.
With Cogynt, an entity's history is easy to catalogue and track using Collections. Collections hold all associated data collected on a given subject. For the person from the previous example, this could include anything from importing police report records from outside Cogynt, to analysis from your investigative team or third party evaluators. One collection holds every record, outside reference, and correspondence from your experts related to that file.
Requirements
Building a collection to hold all related case files requires:
- Meaningful data ingested via Cogynt Authoring.
- A view containing the Collections widget.
This tutorial also covers uploading files to a collection, as gathering intelligence and analysis from multiple sources is typically part of the task requirements. This tutorial also covers details on collaboration among multiple users, including case file analysis and commentary.
Meaningful data can include identifiable details, geographic coordinates, and linkage data to other related subjects. This data is typically processed in Authoring and ingested into Workstation.
Creating Meaningful Collections
To begin, we will need an event that we can build a collection around. Let us assume that our end goal is to reduce incidents of violent crime. We will pull data from several sources, including:
- Basic identifiable information on subjects (names, addresses, and any other information such as position based on cell tracking).
- Income and other socioeconomic details.
- Arrest records.
- Police reports.
This tutorial will focus on using these types of data to form a complete report built from a Collection.
Building Collections
First, we need to create a collection and assign events to it. Events processed in Authoring represent a person, place, or thing, and form the foundation to a collection. An example of an incident that might trigger our lead to create a collection is as follows:
Example
Individual A is flagged because data sources show a domestic violence incident where the subject was also intoxicated. Our model has assigned this subject a risk score of 75, bringing an event notification to the attention of our lead analyst. Our analyst reads the report in detail and notes police saw a firearm at the time of the arrest. This report prompts our analyst to create a collection for Individual A, where the analyst places all relevant events.
When events are ingested into Workstation, they can stream to Workstation as either an event or an event notification. Notifications are assigned by user, and represent a more personalized stream of events broken down by customized criteria.
The first step requires:
- The Collections Widget.
- The Object Details Viewer.
- Event or Event Notification Stream.
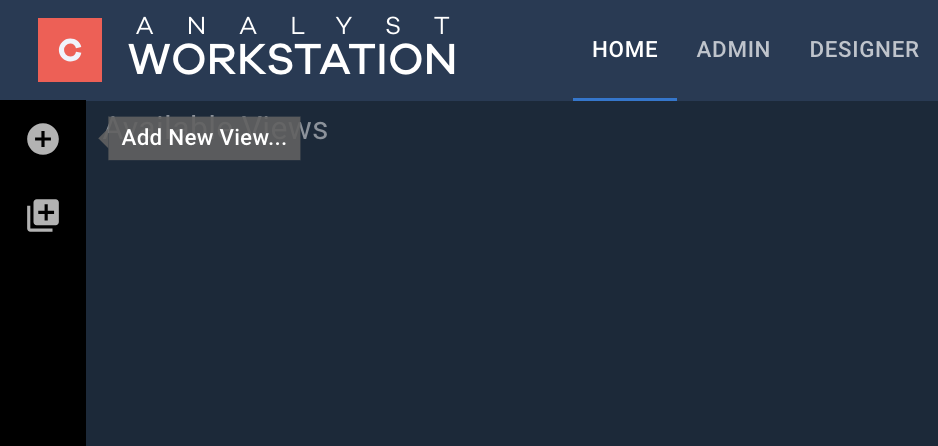
First, create a new view from the left side drawer. Click the drawer to open it, and then click + Add New View.
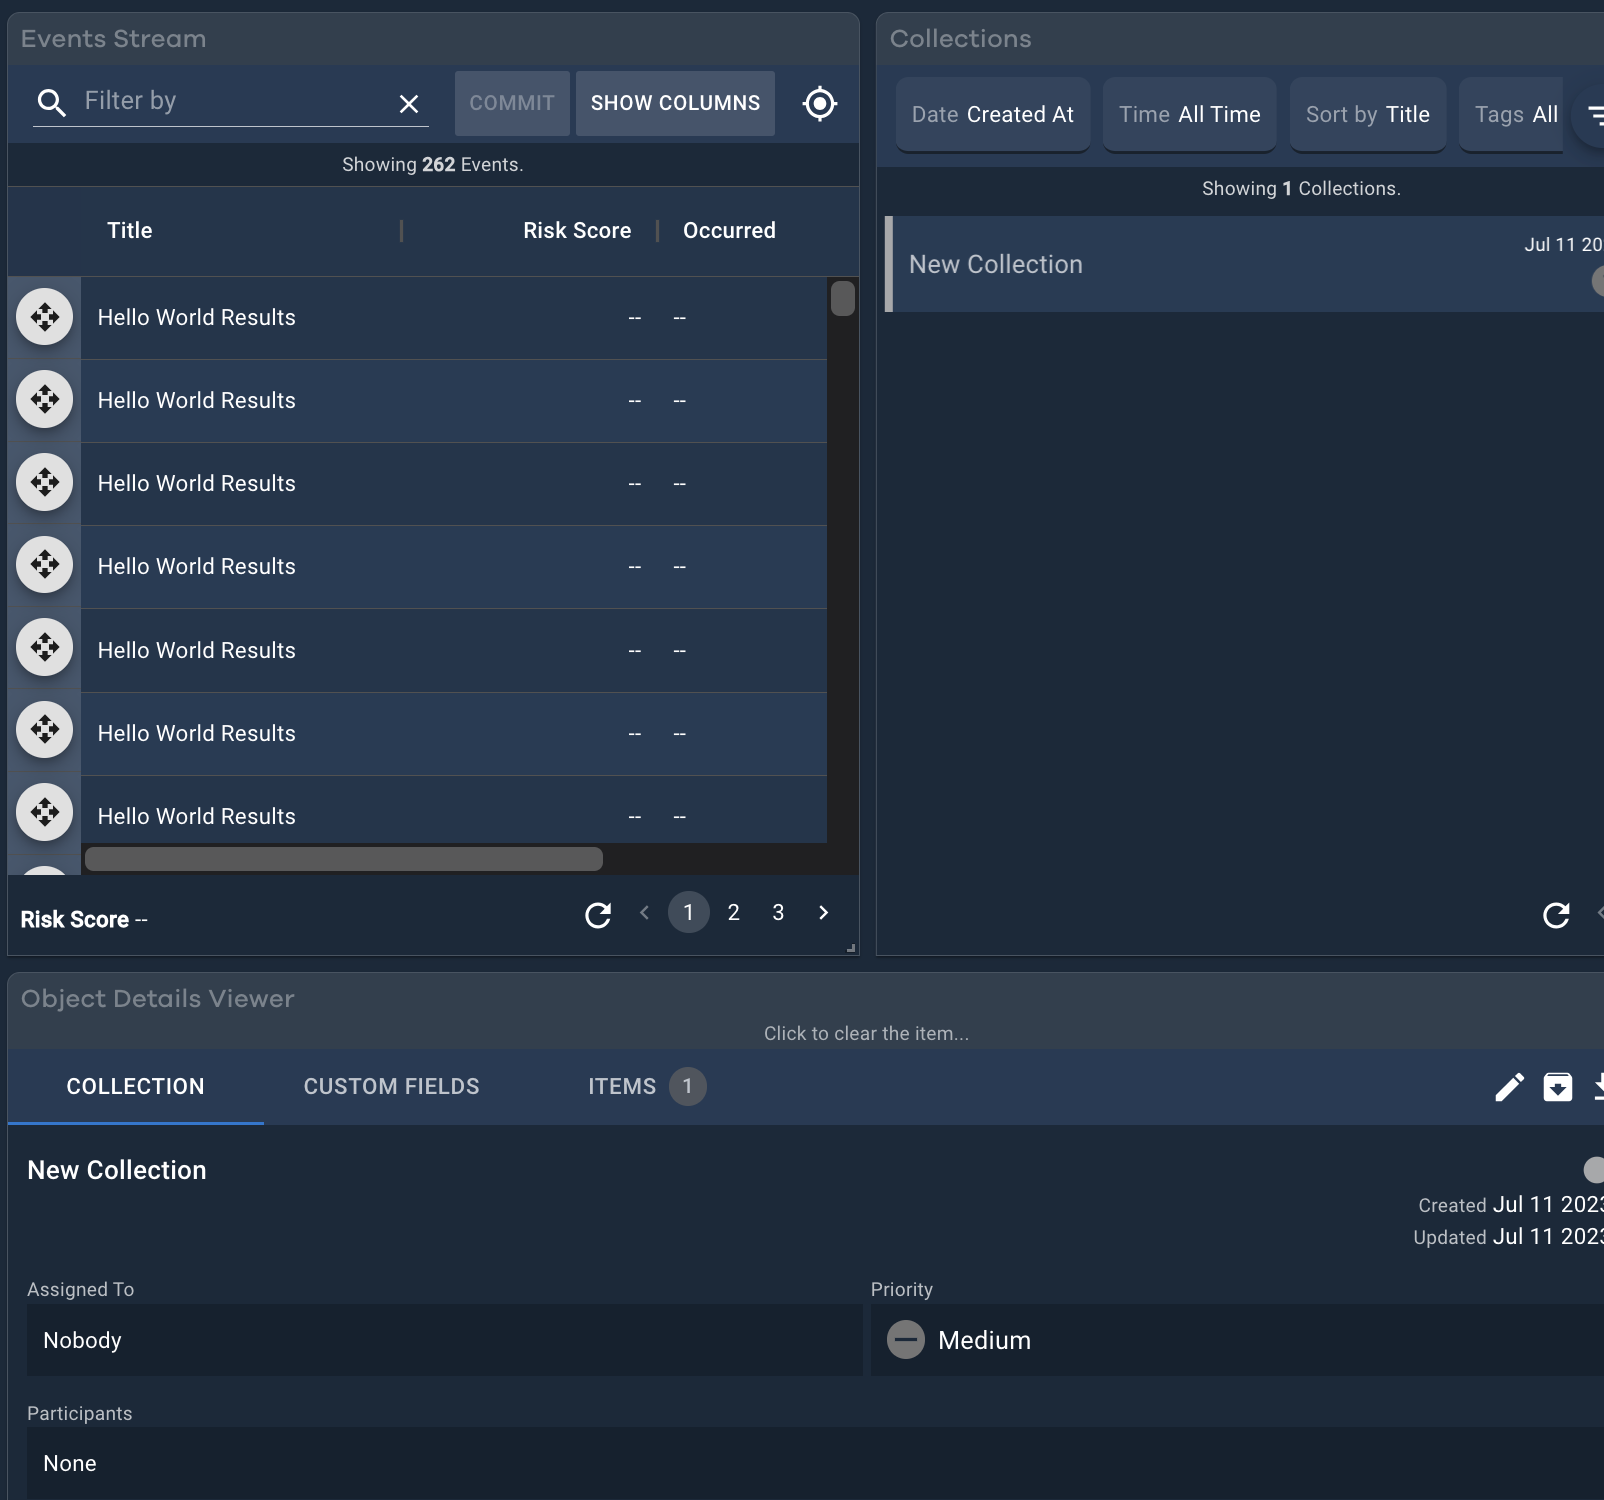
Populate this view with the Collections, Object Details Viewer, and Event or Event Notification widgets. Click each once to add it to the view.
Feel free to rearrange, resize, and otherwise customize widget layout on your screen as seen in the following image:
Next, we'll need to create a Collection. Name it, provide a description, and assign any other users that may need to work on it.
Tip
The Assigned to user receives system notifications when changes are made to their assigned collections.
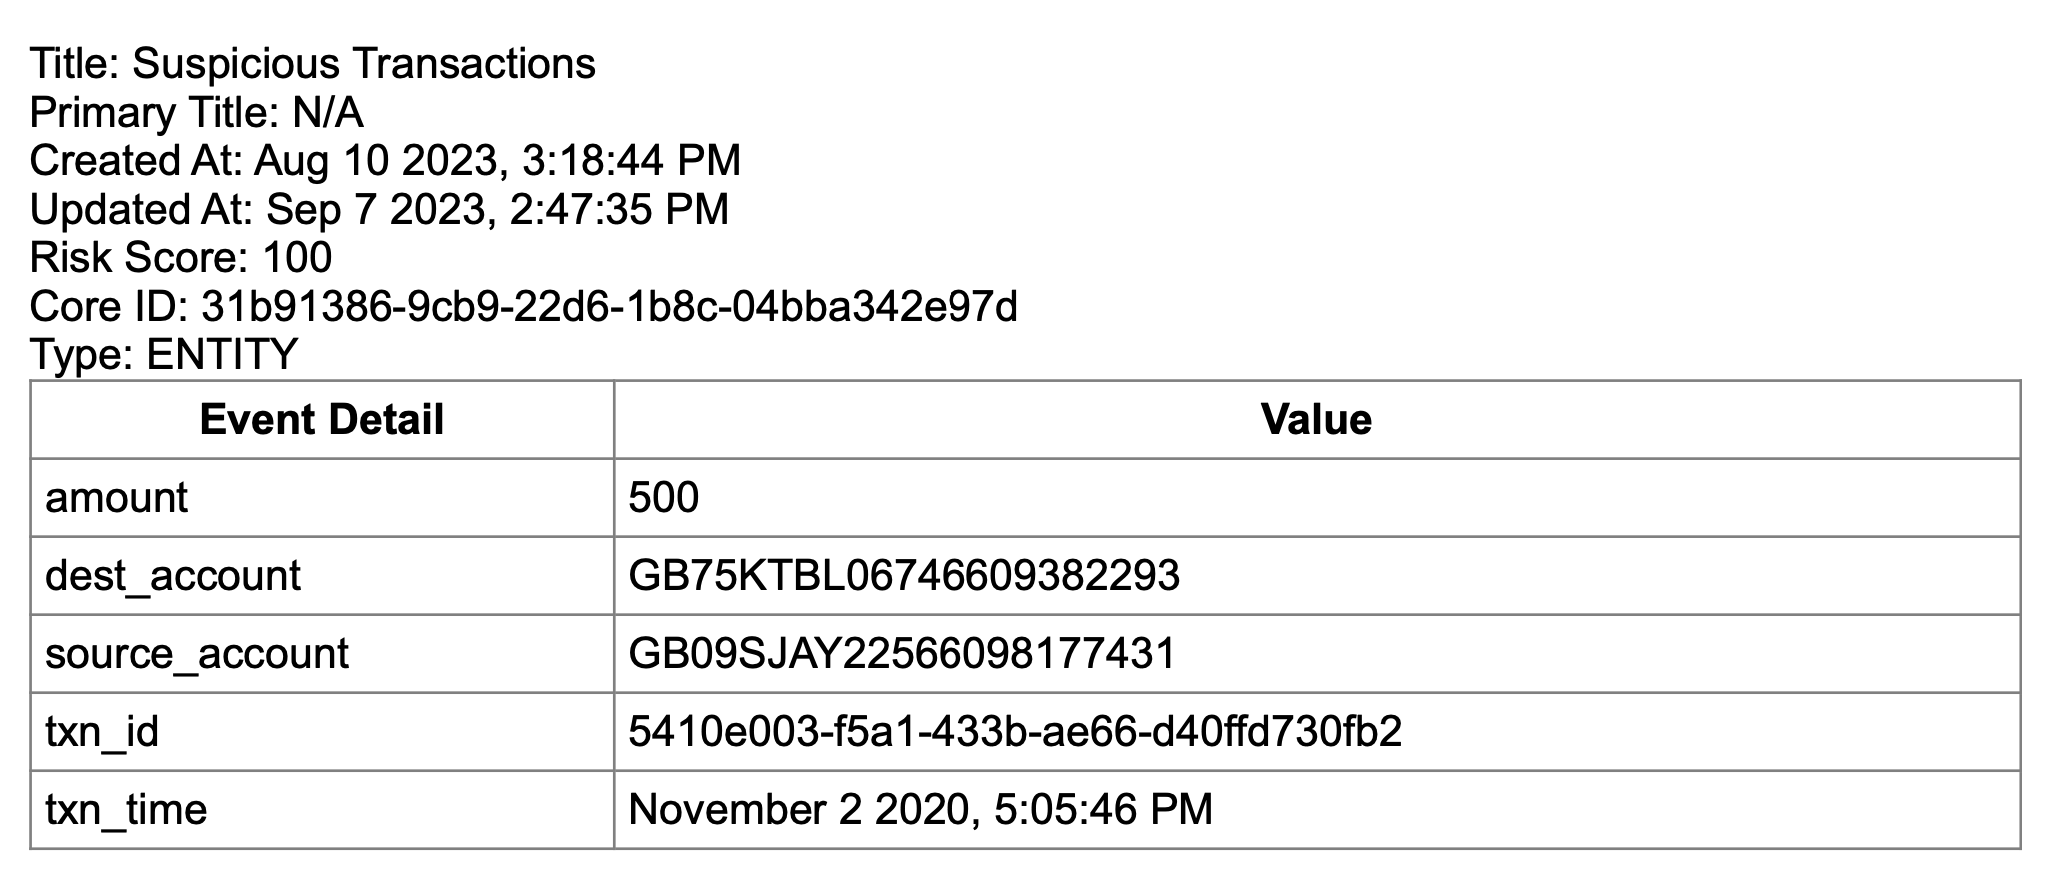
Drag the newly created Collection into Object Details Viewer to switch to Collections Details Viewer mode. Drag events related to the Collection's primary subject into the Collection Details Viewer to add them.
With these events, our lead analyst has the beginnings of a Collection containing all events generated from Cogynt modeling. This Collection is ready for further analysis.
Analysis and Reporting With Collections
Cogynt empowers teams to do more with their data. Custom fields provide space for analysis, checklists for easy profiling, and a variety of methods to document and categorize a subject during an ongoing investigation.
Add Outside Analysis
As investigations progress, experts from various fields might offer input on a subject to help the primary analyst form a clearer picture. This kind of expert case work is easy to add with Cogynt using a few methods:
- Attach reports created by experts as downloadable files.
- Assign or alert specific analysts to request input with comment tagging.
- Compile related collections to avoid duplicating efforts and keep investigative efforts aligned.
To add attachments, scroll to the bottom of Collection Details Viewer, click Attachments, then click Add Attachment. Upload any local file from your PC (up to 1GB in size).
Any of the following file formats are permitted:
- Image file types including:
bmp,jpeg,gif,png,svg+xml, andwebp. - Audio files including:
mpegandwav. - Video files including:
avi,mov,mp4, andwebm. - MIME/application types including:
application/json,application/pdf,application/ppt,application/pptx,application/xls,application/xlsx, andapplication/xml. - MIME/content types including:
text/csv,text/doc,text/docx,text/plain,text/rtf, andtext/xml.
Compile Analysis Within Collections
Custom fields tie everything together. Checklists can help identify case attributes, such as a DUI or Assault. Rich and plain text fields offer ample space for detailed reports, including psychological evaluations or expert analysis and testimony.
We can add Custom Fields at any time. To do so, we'll need to visit the Designer screen and click Custom Field Templates from the left side drawer to get to the Custom Field Templates screen.
Here, you can create:
- Text or rich text fields to record analysis, commentary, and other kinds of longform text reporting. Rich text custom fields retain formatting when pasted into
.docx-format word processors. - Dropdown menus or checkbox groups with options for selection.
Collaborate with Other Teammates
Any user with View - Write permission can view a collection and engage in collaboration through comments. Analysts can enter usernames prefixed with the @ symbol to "tag" another user. Doing so creates a system notification for that user.
To read or add comments, scroll to the bottom of Collection Details Viewer and click Comments. You can Add Comment or respond inline to any reply. Replies are collapsed by default, but click the number of replies to open the accordion. You can also sort comments in chronological (oldest to newest) or reverse chronological (newest to oldest) order.
Learn more about comments from our documentation on collection collaboration.
Build Reports From Collections
Cogynt also includes Report Builder, a tool that compiles templates used to render collection data as easy-to-share reports downloadable as PDF files. Users with Workstation: Report Builder - Write can access Report Builder, so be sure you have the proper permissions before following along.
From the Designer tab's left side drawer menu, click the Report Builder icon. Report Builder's main screen asks if you want to open an existing report or create a new one. Select the option to create a new report, and give your new report a name and a description.
Report Builder begins in block mode, but work shifts between two primary modes:
- Block mode: Where elements or data from collections are placed into a report as "blocks" that form a complete report.
- Style mode: Where specific element styles can be adjusted.
You can style your report by customizing the dimensions of blocks within your report, adding CSS, and more.
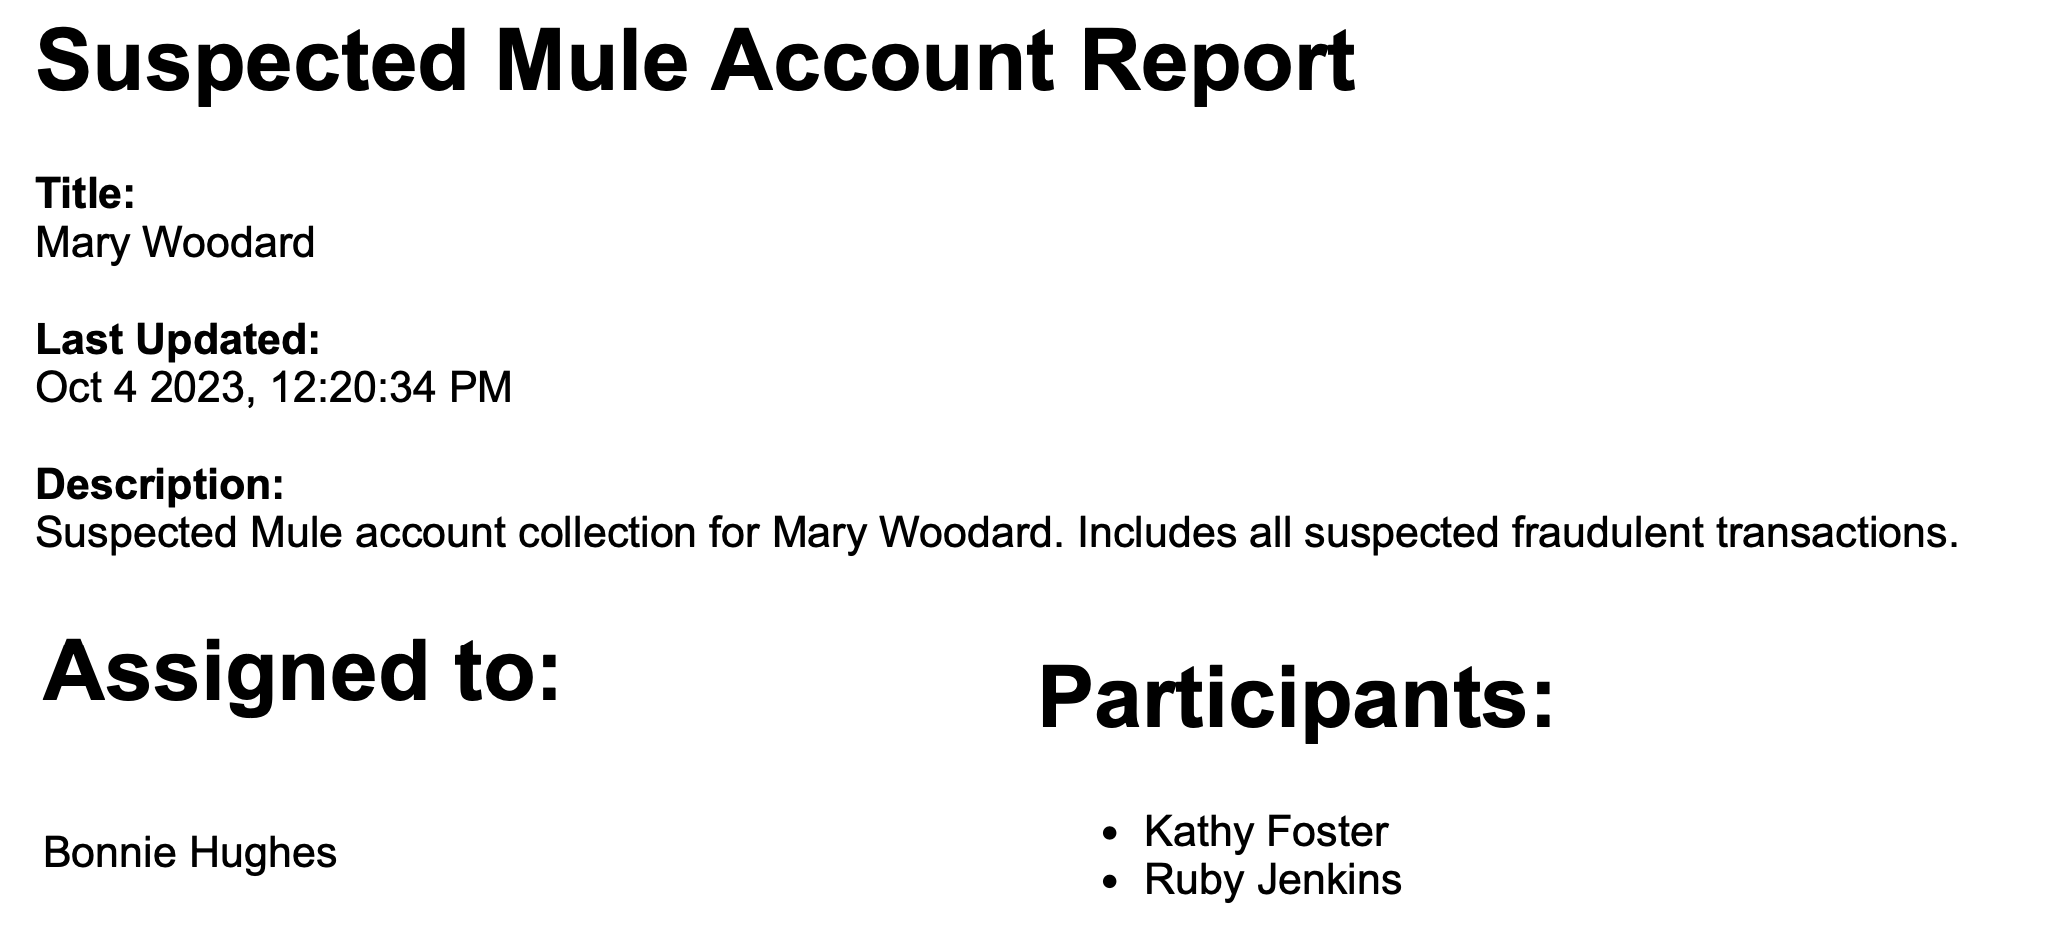
In the right side drawer, scroll to Collection Data. For this tutorial's simple report, drag the following into your report block:
- Collection Title
- Collection Description
- Assigned To
- Attached Events
These blocks are fundamental to building a report, and provide major details related to the collection.
Tips
- On the cover page, include any details relevant to the report, such as created or last updated timestamps.
- Use the Page design element to add a page break.
- Use the Two Column or Three Column design elements to structure reports.